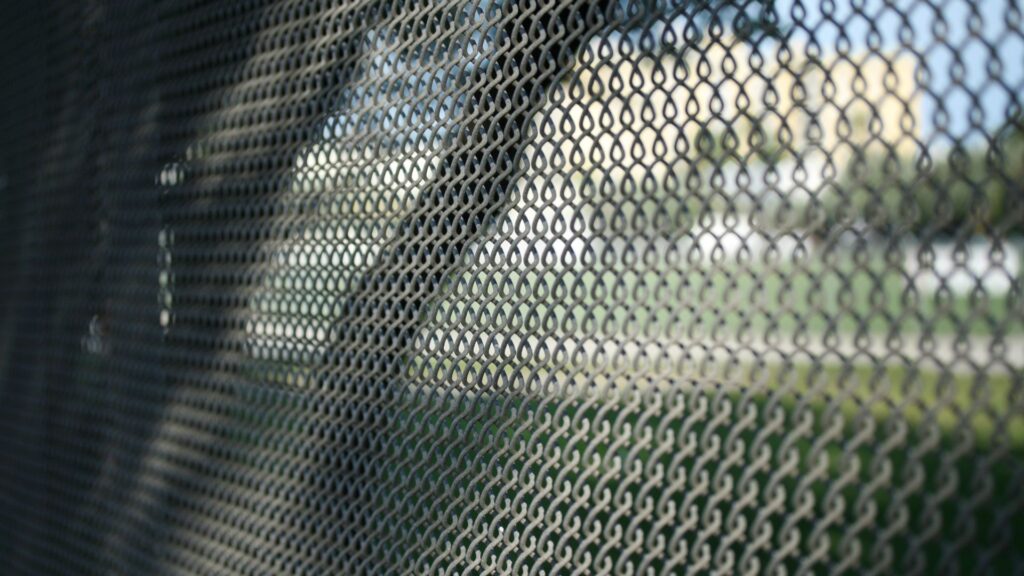
Chain link fencing is a popular choice for residential, commercial, and industrial properties due to its affordability, durability, and versatility. Proper installation is essential to ensure the effectiveness and longevity of the fence. In this comprehensive guide, we’ll walk you through the step-by-step process of installing a chain link fence, from planning and preparation to finishing touches and inspection. By following these instructions carefully, you can create a sturdy and reliable fence that meets your needs and enhances the security of your property. At Fortress Fencing Inc., we’re committed to providing expert guidance and assistance to homeowners and businesses undertaking chain link fence installation projects.
Planning and Preparation

Before beginning the installation process, it’s crucial to plan carefully and prepare adequately. Start by assessing your property lines and obtaining any necessary permits or approvals from local authorities. Next, gather the tools and materials required for the installation, including chain link fabric, line posts, terminal posts, top rails, concrete, and various fittings. Take accurate measurements and mark the fence line using stakes and string to ensure proper alignment and placement of the fence. Planning and preparation are key to a successful installation process and will help streamline the project and minimize delays.
Setting the Posts
Once you’ve completed the planning and preparation phase, it’s time to set the posts for your chain link fence. Begin by digging post holes to the appropriate depth and diameter using a post hole digger or auger. Position the corner and line posts along the fence line, ensuring they are spaced evenly and aligned properly. Use a level to ensure the posts are plumb, and brace them temporarily to keep them in place. Once the posts are properly positioned, fill the holes with concrete and allow them to cure according to the manufacturer’s instructions. Setting the posts securely is essential for the stability and durability of the fence.
Installing the Rails and Mesh
With the posts set and cured, you can now proceed to install the rails and mesh for your chain link fence. Start by attaching the top rails to the line posts using rail end bands and bolts. Be sure to space the rails evenly and align them properly to ensure a straight and level fence. Next, unroll the chain link mesh along the fence line and attach it to the end and corner posts using tension bands and wire ties. Stretch the mesh taut between the posts, ensuring there are no wrinkles or sagging areas. Once the mesh is securely attached, use a come-along or fence stretcher to tension the mesh and remove any slack. Proper installation of the rails and mesh is crucial for the structural integrity and appearance of the fence.
Adding Gates and Accessories
To enhance the functionality and accessibility of your chain link fence, you may choose to add gates and other accessories. Begin by installing gate posts at the desired locations, ensuring they are aligned properly and securely anchored. Attach gate hinges and latches to the gate posts, and hang the gates according to the manufacturer’s instructions. Test the gates to ensure they open and close smoothly and adjust the hardware as needed. Additionally, you can add accessories such as tension wire along the bottom of the fence to prevent sagging and gate caps to protect the tops of the posts from water infiltration. Adding gates and accessories enhances the convenience and security of your chain link fence.
Finishing Touches and Inspection
Once all the components of the chain link fence are installed, it’s time to add the finishing touches and conduct a thorough inspection. Trim any excess mesh using wire cutters and secure loose ends with additional wire ties. Check the alignment and tension of the fencing, ensuring it is straight and level along the entire length of the fence. Inspect the posts, rails, and mesh for any defects or issues that may need attention. Make any necessary adjustments or repairs to ensure the fence is in optimal condition. A final inspection is essential to ensure the fence meets your standards and will provide reliable security and protection for your property.
In conclusion, installing a chain link fence is a manageable project that can greatly enhance the security, functionality, and appearance of your property. By following the step-by-step guide provided in this comprehensive overview, you’ll be well-equipped to tackle the installation process with confidence and precision. Remember to take the time to plan and prepare adequately, ensuring that you have all the necessary tools, materials, and permits before beginning the project. Additionally, be sure to pay close attention to detail during each phase of the installation, from setting the posts to adding the finishing touches.
As you embark on your chain link fence installation journey, keep in mind that proper installation is key to the fence’s long-term durability and effectiveness. However, if you encounter any challenges or need assistance along the way, don’t hesitate to reach out to the experts at Fortress Fencing Inc. Our team is dedicated to providing top-notch service and support to homeowners and businesses undertaking fencing projects of all sizes. With our expertise and guidance, you can achieve a high-quality chain link fence that meets your needs and exceeds your expectations.
In addition, after completing the installation, consider implementing a regular maintenance routine to ensure your chain link fence remains in optimal condition for years to come. Regular inspections, cleaning, and minor repairs can help prolong the lifespan of your fence and maintain its appearance and functionality. By investing time and effort into proper maintenance, you’ll reap the benefits of a secure and reliable fencing solution for your property. For any further inquiries or assistance, feel free to contact Fortress Fencing Inc. Our team is here to support you every step of the way, from installation to maintenance and beyond.

